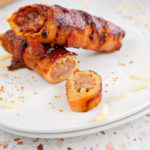
Smoked shotgun shells have been taking social media by storm, luckily for us, we've been making these delicious things around SMS HQ for a while now!
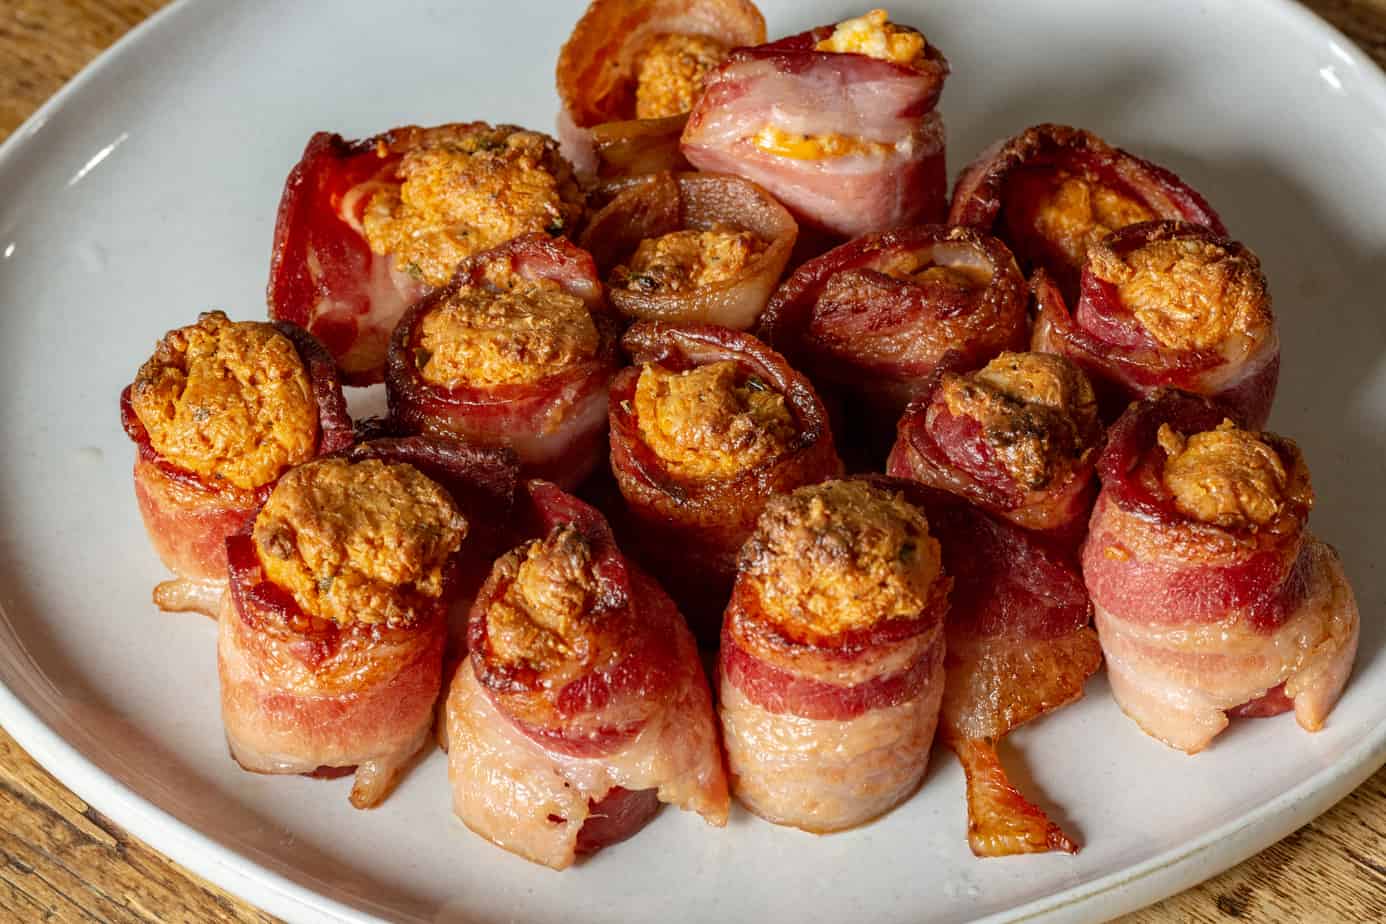
Made from pork sausage, or beef sausage if that's your style, and then packed into manicotti shells with cheddar cheese, bbq rub, and finally wrapped with thick-cut bacon before being smoked to crispy, pork-rich perfection, Shotgun shells are a perfect tailgate/cookout snack!
How to make smoked shotgun shells!
It's pretty easy to prepare smoked shotgun shells, unlike larger protein cooking like brisket or pork there is a lot more prep involved here. The trade-off is that the cook-time is much shorter, making these perfect as an appetizer or side dish for your next barbecue event.
You can prep these guys in advance and keep them in the refrigerator until cooking time, which is convenient if you're planning a multi-item barbecue event. These shotgun shells take about an hour and a half so you can easily put them on during the middle of a brisket or pulled pork cook and have an awesome smokey snack as you wait for the main event!
Gather your ingredients.
The most important place to start with any recipe is to read it completely at least twice. This makes sure you're familiar with all the steps, and hopefully, avoid making any rash decisions along the way.
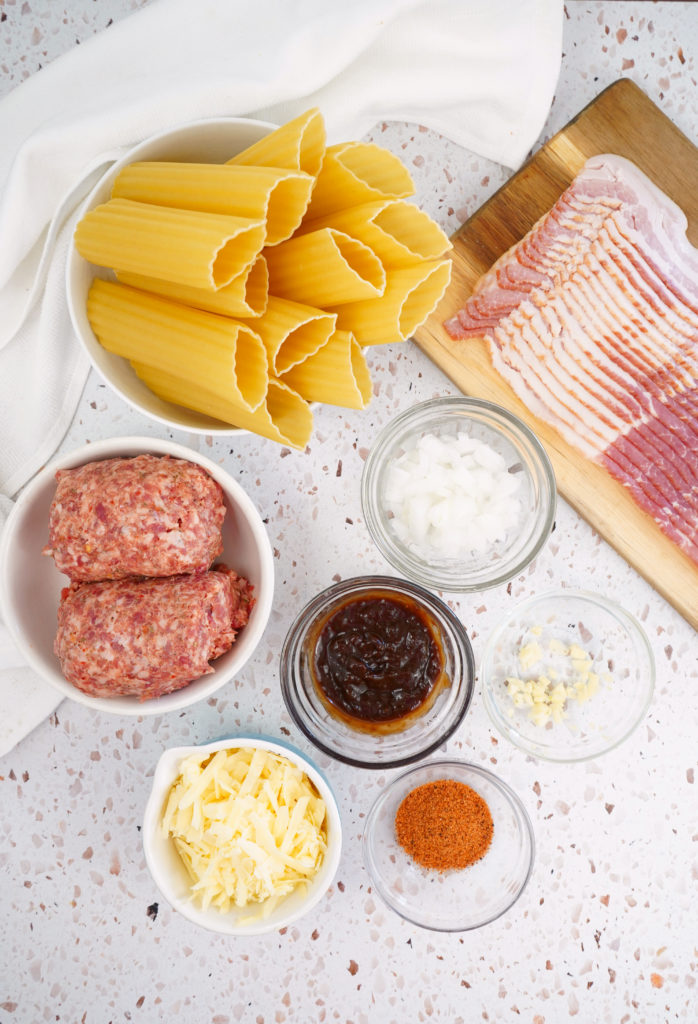
Once you've read the recipe, gather all of your ingredients or mise en place, and then move on to the prep.
Preheat your smoker.
As with any barbecue recipe, the first step is going to be preheating your smoker. For this recipe, you'll be cooking at 200°f. Give your smoker enough time to get up to temperature before placing your prepped shotgun shells inside the cooking chamber.
Because these shotgun shells take less time to prepare, it's important to ensure the smoker is up to temperature and the wood is burning cleanly so as not to impart any off flavors or soot onto the food.
Mix the shotgun shell filling.
Begin to prepare the shotgun shells by mixing the filling. Combine the ground sausage, barbecue rub, shredded cheese, onion, and garlic in a large metal mixing bowl. Using your hands, mix the filling together thoroughly until the mixture is even and consistent. You want to work the mixture a little to emulsify the cheese and build a good protein structure, so really dive in there and mix away.
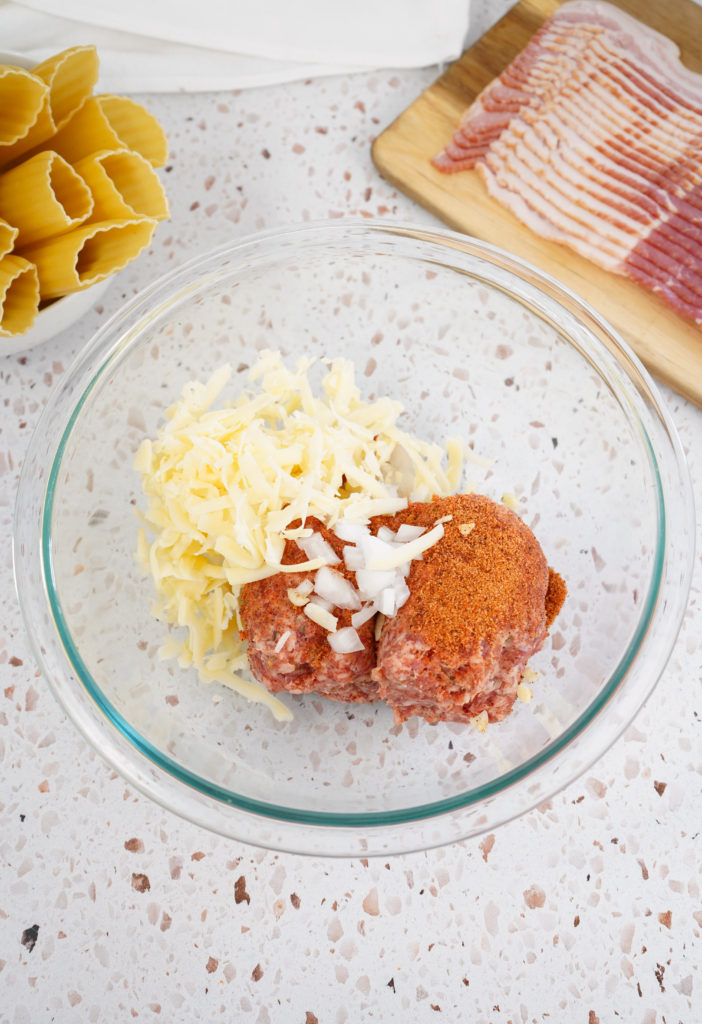
You can substitute the cheddar for other cheeses if you like but try to stick to softer block cheeses, like Monterey jack cheese, pepper jack, mozzarella, or gouda. Furthermore, you can add tons of different fillings or mix-ins, from things like diced jalapeno to chopped apple, or even diced cured meats like prosciutto, or salami, you can really go to town with the variations.
Stuff the shotgun shells with the filling.
One major difference between manicotti and shotgun shells is the preparation of the shells themselves. While you normally cook manicotti shells before filling them when making most pasta dishes, you want to start with uncooked manicotti shells for your shotgun shells.
As the shells cook, the pasta will soak in the juices from the meat mixture and the bacon wrapping, so no need to worry about crunchy pasta!
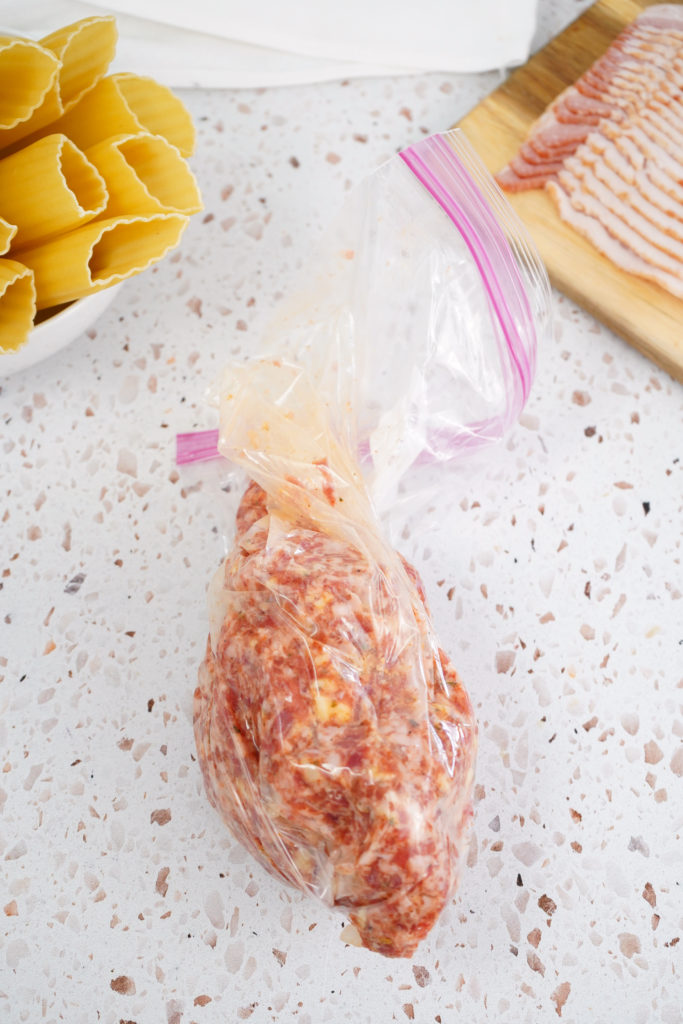
To make the filling process easier, place a few large spoonfuls of the filling mixture into a ziplock bag and cut the bottom corner off to create a homemade piping bag. Then carefully squeeze the filling into the manicotti shell, making sure to fill from both sides to avoid air pockets.
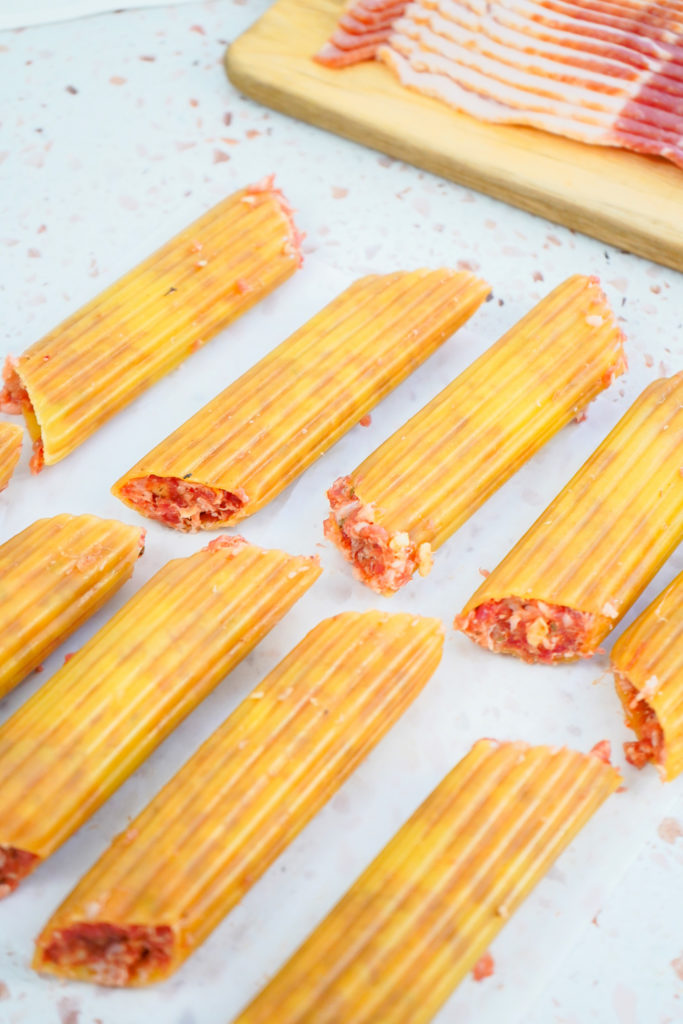
This recipe should fill about 10 manicotti shells give or take 1 shell either way. You can also use cannelloni shells if you're
Wrap the shells in bacon!
There isn't much in this world that isn't improved by wrapping it in bacon, and these zesty smokey shotgun shells are no different.
Bacon wrapping can be a bit of an art, but luckily these shells aren't too large and you really only need 1 piece of bacon per shell. You can use more if you like, but 1 to 1.5 pieces should be fine.
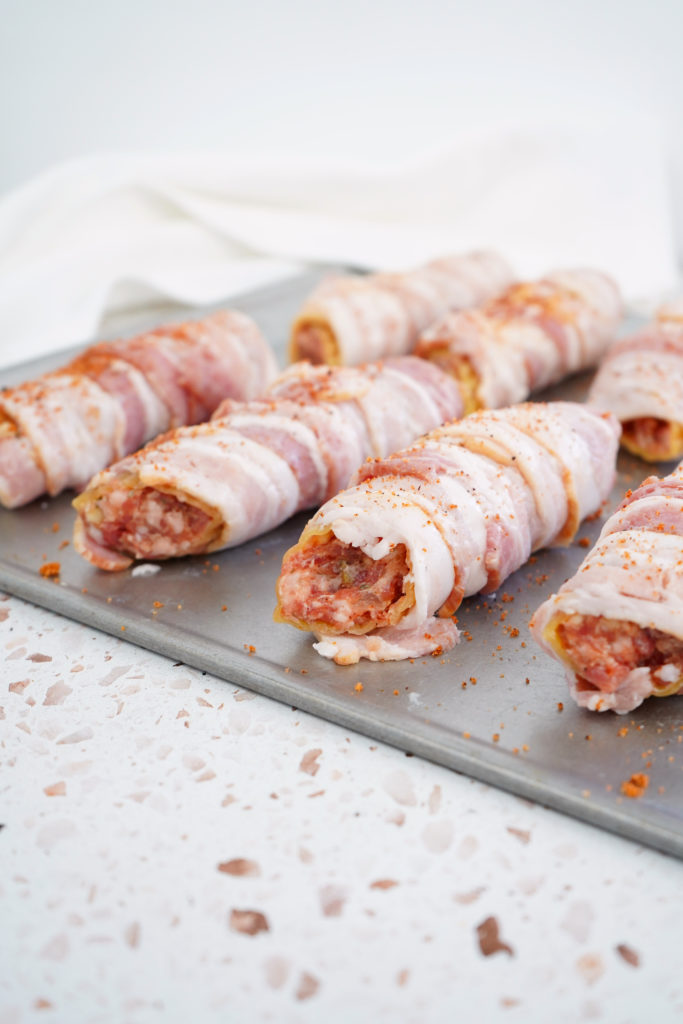
To properly wrap the bacon start at one end of the shell and wrap in a spiral pattern around the shell while pulling slightly to stretch the bacon. You may have to go back and re-wrap the first few you do as you go, you'll definitely get the hang of it by the 3rd or 4th shell.
Try to make sure you get as much coverage on the shells as possible, if not the ends of the shells may remain crunchy.
Put the Shotgun Shells in the Smoker.
Once the shells are wrapped in bacon it's time to transfer them to the preheated smoker. Place the shells directly onto the grill grates, not on a pan or aluminum foil. The bacon needs to be rendered and if you cook the wrapped shells on a pan the bacon won't get fully crispy!
After arranging the shotgun shells, button up the smoker and allow them to cook undisturbed for about an hour.
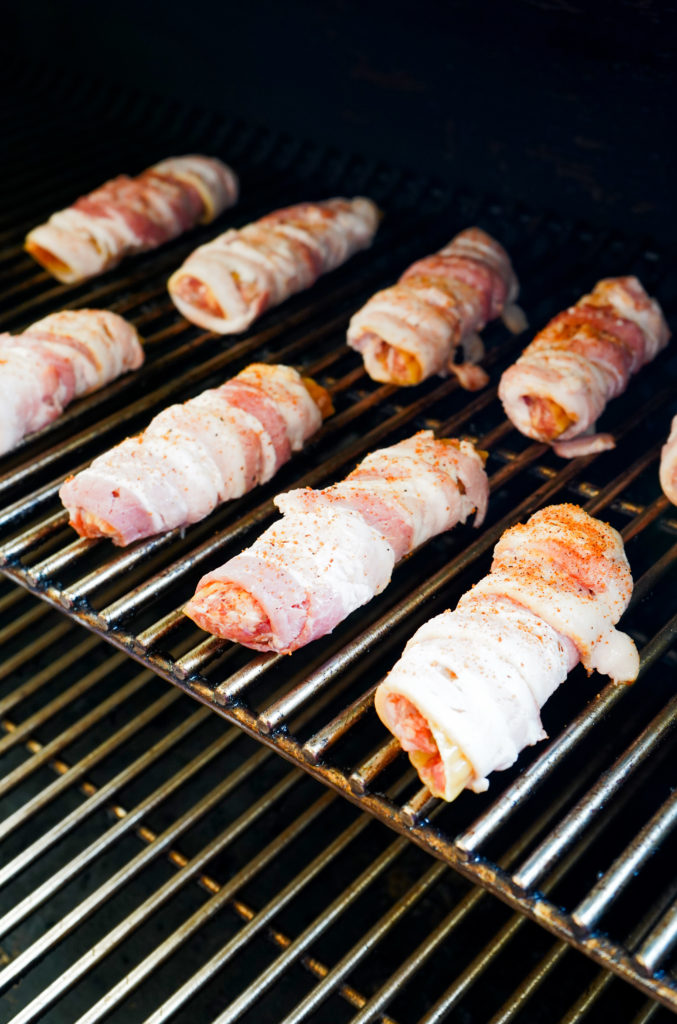
At the hour mark, you can start temping the Shotgun Shells, they should reach an internal temperature of 160°F before moving on to the next step.
Glazing the Shotgun Shells.
With the shells at 165°f, you can start glazing/crisping the bacon on the shells to finish them.
The first step is to turn up the smoker's temperature to 250°f. If you're using a pellet grill or a gas/electric grill. it's pretty easy to increase the temperature, on the other hand, if you're working on a charcoal pit or a stick burner, it's going to take a little planning, so make sure to add a little fuel in preparation for the temp increase.
Once the smoker is up to temperature, open the pit door and glaze the outside of the bacon-wrapped shells with the barbecue sauce. Make sure to turn the shells over to glaze the underside evenly as well.
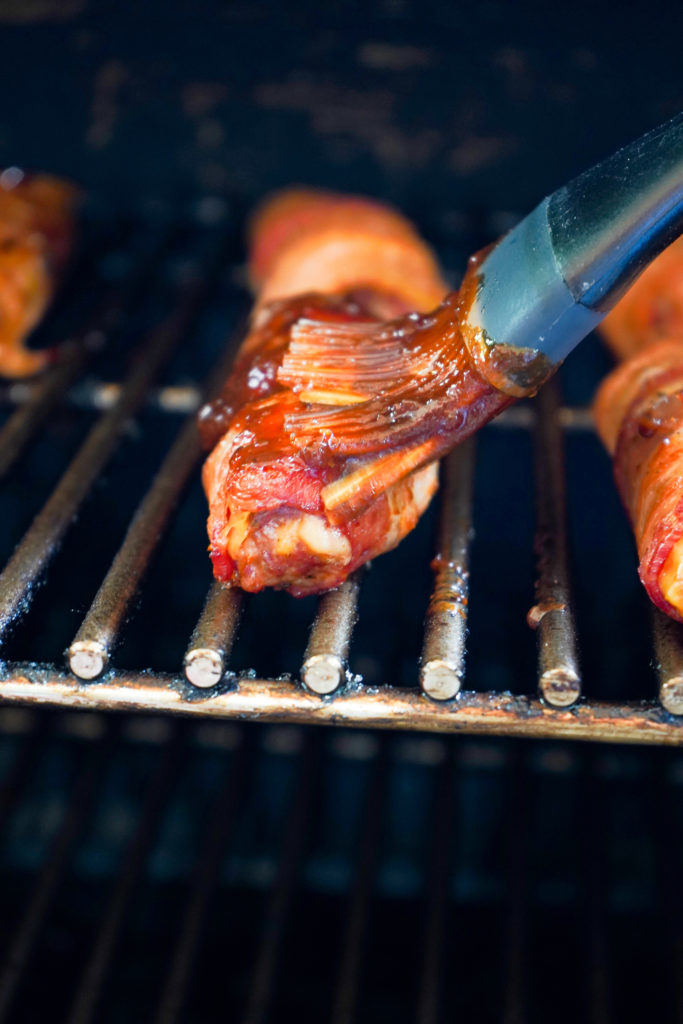
Close the smoker door and allow the shells to continue to crisp and cook for 30 minutes more, checking on them every 10 minutes. Once you see the barbecue sauce start to caramelize, remove them from the smoker and allow them to rest before serving immediately!
Serving and Reheating.
These smokey, cheesy, sausage-filled, bacon-wrapped shells are perfect on their own, but everyone loves a dipping sauce.
Try making serving these with the SMS Alabama White Sauce. The sweet, salty, bacon-wrapped shotgun shells go perfectly with the zesty, tangy mayonaise-based sauce, and it's always nice to have an extra condiment around, just in case!
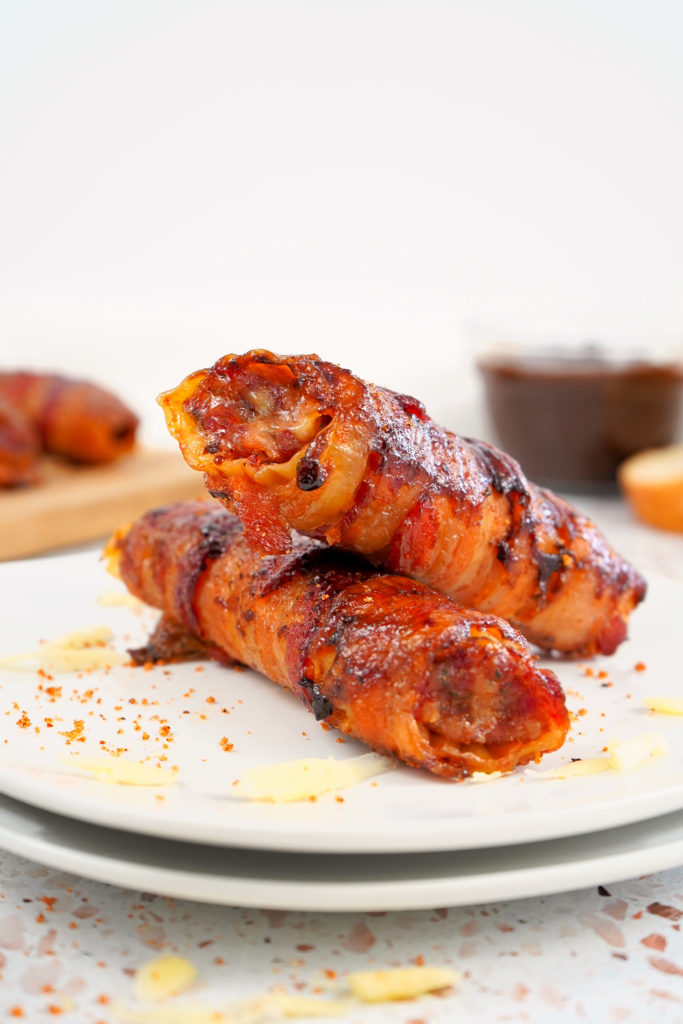
If by some miracle you end up with any of these delicious snacks left over they will keep just fine in an air-tight container for a few days under refrigeration. To reheat try popping them in your air fryer for 5-10 minutes, or if you don't have access to an air fryer, you can microwave them for 2-3 minutes until they are hot inside.
Zesty Smoked Shotgun Shells
Ingredients
- 1 lb zesty pork sausage (or similar)
- 2 tsp all purpose BBQ rub
- ½ cup white onion finely diced
- 1 clove of garlic minced
- 1 cup shredded sharp white cheddar cheese
- 10 manicotti shells
- 1 lb bacon
- ¼ cup BBQ sauce
Instructions
- Preheat the smoker to 200 degrees F.
- In a large bowl combine the pork sausage, BBQ Rub, onion, garlic, and cheese.
- Mix by hand until all of the ingredients are well combined.
- To make filing the shells easier, add the mixture to a Zip-lock bag and cut one end off.
- Squeeze the filling into the shells halfway, flip to the other side and finish filling.
- Repeat until all shells are filled.
- Wrap the manicotti stuffed shells in the bacon covering as much of the shell as possible. (I used 1 ½pieces of bacon per shell).
- Sprinkle the bacon with a little bit more of the BBQ Rub.
- Transfer out to the smoker and place the shells directly onto the grates.
- Close the lid and smoke at 200 degrees for about 1 ½ hours or until the internal temperature of the pork reaches 160 degrees.
- Then raise the temperature of the smoker to 250 degrees.
- Brush the top and sides of the shells with the BBQ sauce.
- Close the lid and continue to cook for about 30 minutes longer until the bacon is crisp to your liking and the shells are soft.


These look great! Question: on Facebook i see people making these, and many like the result, but some people say: "it's dry". Why would this happen? Perhaps not enough fat and moisture in the cheese, to "hydrate" the pasta? Or, the cook took some shortcuts that resulted in a 'halfway-hydrated' pasta shell? I ask, to assure I avoid doing something that will result in a dry pasta shell...
Curious could these be made the day before and refrigerated?
The warnings I saw to avoid these turning out dry are to NOT use beef or leaner meats. I would not be surprised at people wanting to make a healthier version by using turkey meat, or even going 100% vegan. Doing so would cut down on the amount of oils being absorbed by the manicotti shells, and that would result in a drier "shotgun shell".
So then you get people saying "I made these! They were terrible! So dry!" and you ask them what they did different, maybe they overcooked them.
And they'll say "No! I followed the recipe exactly! I mean I did use tofu instead of pork, and I used vegan bacon, and vegan cheese because duh! Why wouldn't I? And I used a low cal barbecue sauce because I'm trying to be healthy, but I still followed the recipe exactly!"
It always best to put the shotgun shells in the refrigerator for at least 4 hours or longer. Any less the pasta will be hard and dry..
Curious could these be made the day before and refrigerated?
I made these and they turned out fabulous. I added diced onion and jalapeno to the cheese and sausage mixture. I used spicy Jimmy Dean pork sausage and made them up the night before and placed covered in fridge. I made sure the bacon covered the manicotti. Definitely will make again.
Made this today and they are AMAZING! Your recipes never disappoint.
The recipe is perfect, I would not adjust anything. The trick is also to keep the temp internal at 165. Don’t let it cook. Too much hotter before you with barbecue sauce.