Beer can chicken is one of those quintessential barbecue foods that everyone loves to make, and while it may appear simple, like all barbecue, the proper technique makes all the difference.
This Whiskey Brined Smoked Beer Can Chicken recipe really ups the ante by concentrating the flavor of the chicken through a brining process that leaves the skin crispy and the chicken juicy and tender. So grab a can of your favorite beer, a 3-4lb chicken, and follow the instructions below to create the tastiest beer can chicken you've ever had!
How to make Smoked Beer Can Chicken Whiskey Brine
Like most barbecue recipes, the keys to success are temperature control and accurate temperature measurement. You can dress up your proteins any way you like, and you can spend as much money on a smoker as you can afford, but if you can't control your smoker's temperature and you can't properly measure your temperatures, to begin with, you are destined to be frustrated with your results.
You don't need an expensive smoker when cooking chicken; a round weber style grill will work just fine so long as you can keep the fire away from the chicken as it cooks. This indirect heat roasts the chicken slowly as the beer can inside steams it, helping cook the product evenly while infusing it with tons of flavor.
Gather all of your ingredients.
Before you start cooking anything, read the recipe thoroughly to ensure you understand each step, and then gather your ingredients together. You'd be surprised how many mistakes or accidents you can avoid by checking this step off the list before proceeding!
One absolutely crucial piece of equipment for this recipe is a beer can chicken stand. While you can truss the chicken and carefully arrange it to keep it from falling during the cooking process, the beer can chicken stand makes the job a ton easier, and once you taste this recipe, you're definitely going to make it again!
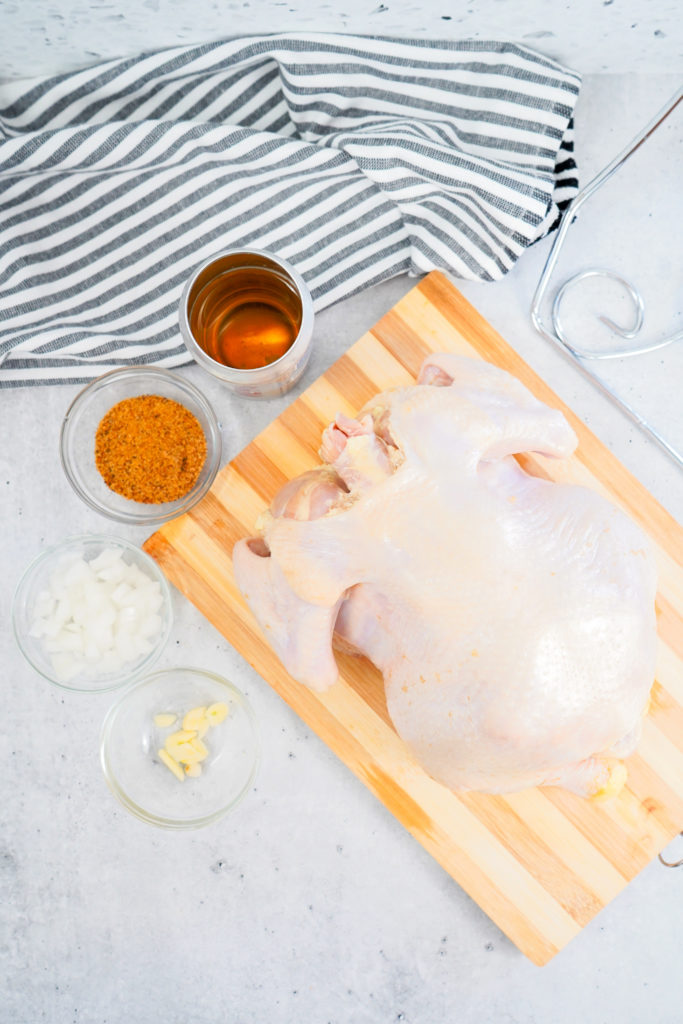
Once you've got all of your ingredients on hand and fully understand the recipe, go ahead and get down to cooking.
Prepare your brine.
Brining a chicken is an age-old technique that increases the flavor of your chicken while helping retain more moisture creating a more flavorful, juicer chicken overall. It definitely extends the prep time because bringing takes upwards of 6 hours. This means you'll most likely prepare this in the morning for cooking later in the day, or you can leave it refrigerated overnight and prepare it the next day.
If you don't want to wait that long for a delicious beer can chicken, you can forgo the brining process, but you definitely sacrifice flavor and texture by doing so.
To prepare your brine, you need to combine salt, brown sugar, whiskey, barbecue rube, cloves, and water in a pot on your stove and bring it to a boil.
Once at a boil, turn the heat off and add the remaining water to the pot. This helps cool the brine quickly while creating the necessary volume/dilution for a perfect seasoning level. Too little water and you'll end up with an overly salty chicken; too much, and you'll dilute the flavor too far.
Before you immerse your chicken in the brine, make sure the brine has cooled to 40°f. This is to prevent the brine from cooking the chicken or create an environment for bacteria to grow.
One easy way to quickly cool down your brine is to add ice to the brine to cool it before adding the water. Once you've added enough ice to cool the brine, adjust the final volume with water until you have the right amount of brine.
Once the chicken is immersed in the brine, place it in the refrigerator overnight or until you are ready to cook!
Light your smoker and prepare the chicken.
Once the chicken has brined for at least 6 hours, remove it from the brine and allow it to drip dry on a resting rack.
Light your smoker and allow it to heat to 225°f. If you're using a charcoal smoker or stick burner, this might take a little longer, but luckily, the cooking process is relatively short compared to larger proteins and only takes 3-4 hours.
While the smoker is preheating, you can prep the chicken.
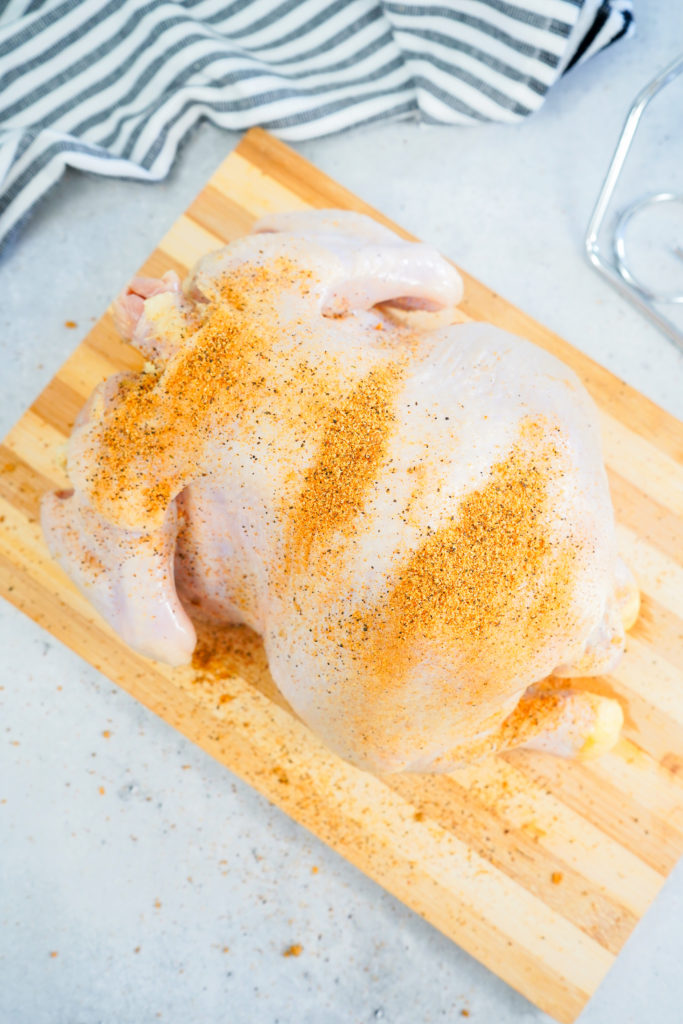
First, open a beer and pour out approximately half of the liquid. Using a can opener, remove the top of the beer and discard the lid.
You can use whatever beer you have on hand; make sure it is a 12-ounce can, as larger 16-ounce cans won't fit in the beer can chicken stand.
Interestingly you can cook a beer can turkey as well, but there's only 1 can that will do the job, and that's a fosters oil can!
Add the sliced onion and garlic to the beer can and place the can into the can holder on the beer can chicken stand.
Once the chicken has drip dried, apply your favorite barbecue chicken rub, and then place the chicken onto the beer can stand. Ensure your chicken is secure, and then check on your smoker to ensure it's up to temp.
Load the whole chicken into the smoker.
After your smoker has reached the appropriate temperature, carefully load the chicken stand into the smoking chamber.
It can be difficult to balance the stand properly on a grill grate so take your time; you can use a small sheet tray if you like. This is something we try to avoid because it can change the airflow in the smoker, and we find the chicken achieves a much more uniform crispy skin when smoked without a pan.
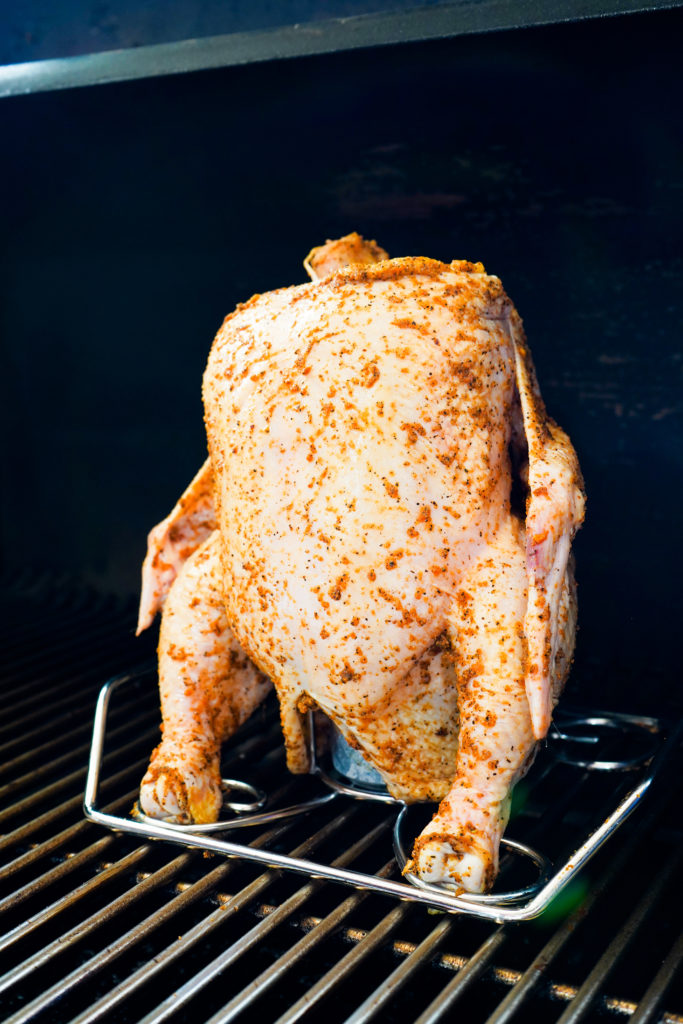
Once the chicken is secure and you're sure it won't fall over, insert a meat thermometer probe if you have one, and then close up your smoking chamber.
Smoke the beer can chicken for 3 hours, then turn up the temperature.
For the first three hours, you'll want to keep the temperature on your pellet grill or smoker right around 225°f. This will gently cook the chicken while keeping the meat moist and tender.
After three hours, it's time to turn up the heat and crip that chicken skin!
If you're using a stick burner or a charcoal smoker/grill, you'll start your temperature step-up 10-15 minutes early to allow your fuel time to begin to combust and build the temperature in the smoking chamber.
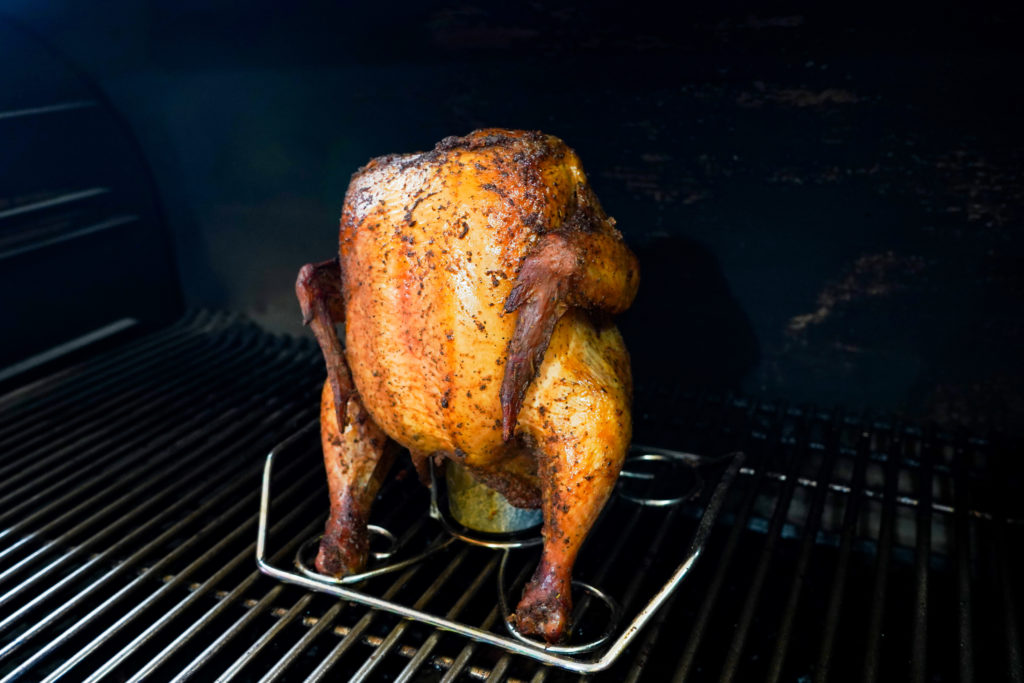
Once the smoker is up to temp, allow the chicken to cook for another hour to fully crisp the skin.
Once the internal temperature of the chicken has reached 165°f, you can carefully remove the smoked beer can chicken from the smoker and allow it to rest.
Rest and Serve!
Resting is the most essential part of high-quality barbecue and will improve your smoked beer can chicken. By resting, you allow the juices to redistribute throughout the meat rather than spill out as you cut it when still piping hot from the smoker.
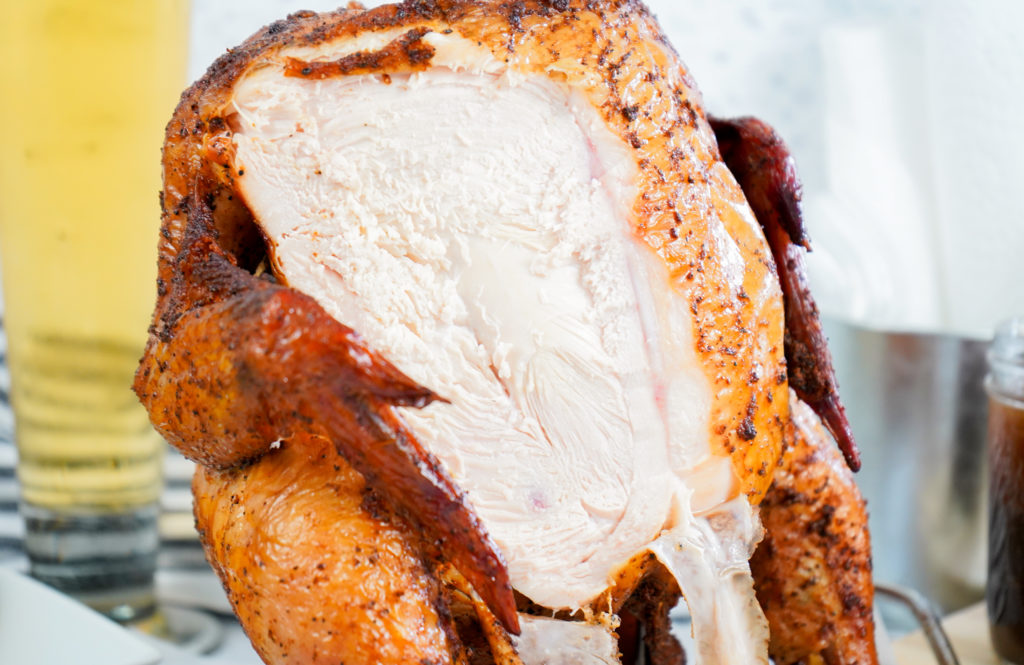
You can rest the chicken on the beer can chicken stand, but that might be a little precarious so removing it is also an option. Be careful when removing the chicken not to spill the cooking beer; while there might not be much beer left, the can usually collects fat and roasting juices as the chicken cooks, so it will most likely be pretty full.
Once the chicken is off the stand, let it rest for 5-10 minutes before slicing and serving.
Smoked Beer Can Chicken With Whiskey Brine
Equipment
- Bringing bucket or large stock pot
- Thermometer
- Beer can chicken stand or similar
- Whisk
- Measuring cups/spoons
- Can opener
Ingredients
For The Whiskey Brine
- 1 gallon of water divided
- ¼ cup sea salt
- ¼ cup low sodium soy sauce
- ¼ cup poultry seasoning/rub
- 1 cup brown sugar
- 1 cup whiskey
- Dash of cloves (optional)
For The Beer Can Chicken
- 1 (5-6 lb) chicken
- 4-5 tbsp chicken BBQ run (I used Goldstar)
- 1 12 oz. can of Beer (I used Coors Light)
- ¼ cup chopped white onion
- 1 clove of garlic sliced
Instructions
For The Brine
- Grab a large stock pot (one large enough to hold the whole chicken, unless using a brining bucket).
- In a large pot combine 8 cups of water, salt, soy sauce, Poultry BBQ Rub, Brown Sugar, Whiskey, and the dash of cloves.
- Whisk until combined and bring the mixture to a rolling boil.
- Cook for a few minutes until the salt/brown sugar has dissolved. Whisking as necessary.
- Once everything is dissolved, add the rest of the water.
- IMPORTANT: Let the mixture cool completely (or chill it to 40 degrees) before adding the whole chicken to the mixture. (You do not want the liquid to start cooking the chicken).
- Place the chicken (neck and giblets removed) in the mixture making sure to completely submerge the chicken. (You can use a plate or something that will hold the chicken down in the water. If using a brining bucket, add the chicken holder and lid).
- Cover and refrigerate overnight until ready to cook.
For the Beer Can Chicken
- When ready to start cooking, preheat the smoker to 225 Degrees F.
- Remove the chicken from the brine, rinse, and pat dry.
- Rub the whole chicken down with your favorite Poultry BBQ Rub.
- Cut the top of a beer can off with a can opener.
- Pour half of the beer out and add the onion and garlic to the beer.
- Place the beer in the stand and place the seasoned chicken over the beer.
- Transfer out the smoker and place on the smoker grate and close the lid.
- Let smoke for about 3 hours.
- Then raise the temperature to 275 degrees F for approximately an hour longer until the internal temperature of the chicken is 165 degrees F and the skin is crisp to your liking.



I have an alpha gal allergy (no red meat allowed) so I eat a lot of chicken. This recipe produced the juiciest and tenderest Chicken I have ever cooked. The only downside is the cost of the brine.
I STRONGLY suggest that you NOT use a beer or pop/soda can. The labels on the out side of the cans are either printed with lead or plastic.
What I suggest you do, is purchase a beer can chicken 'kit' made from stainless.